
Connect your store
The Shopify integration connects your store to Atelier Digital. Once connected, it syncs your product catalog and tracks orders that come from the virtual fitting room. It is read-only and never changes your products, orders or store settings.
What you need
Section titled “What you need”- A Shopify store, and a staff account with permission to manage Apps and sales channels (or the store owner’s help).
- About 10 minutes.
Permissions requested
Section titled “Permissions requested”| Permission | Why it is needed |
|---|---|
read_products | Read your catalog to sync it. |
read_orders | Detect orders that came from the virtual fitting room. |
We do not read customer names, emails, phone numbers or addresses.
How it works
Section titled “How it works”Shopify requires each store to use its own app. You will create a private app in Shopify’s Dev Dashboard, configure it, install it on your store and authorize it with us. There are six phases:
- Open the Dev Dashboard
- Create the app
- Configure it
- Release
- Get credentials and install
- Authorize with us
Phase 1: Open the Dev Dashboard
Section titled “Phase 1: Open the Dev Dashboard”Shopify moved app creation into a separate Dev Dashboard. You get there through your store’s regular admin, with no separate login.
-
Go to your store’s admin at admin.shopify.com and sign in.
-
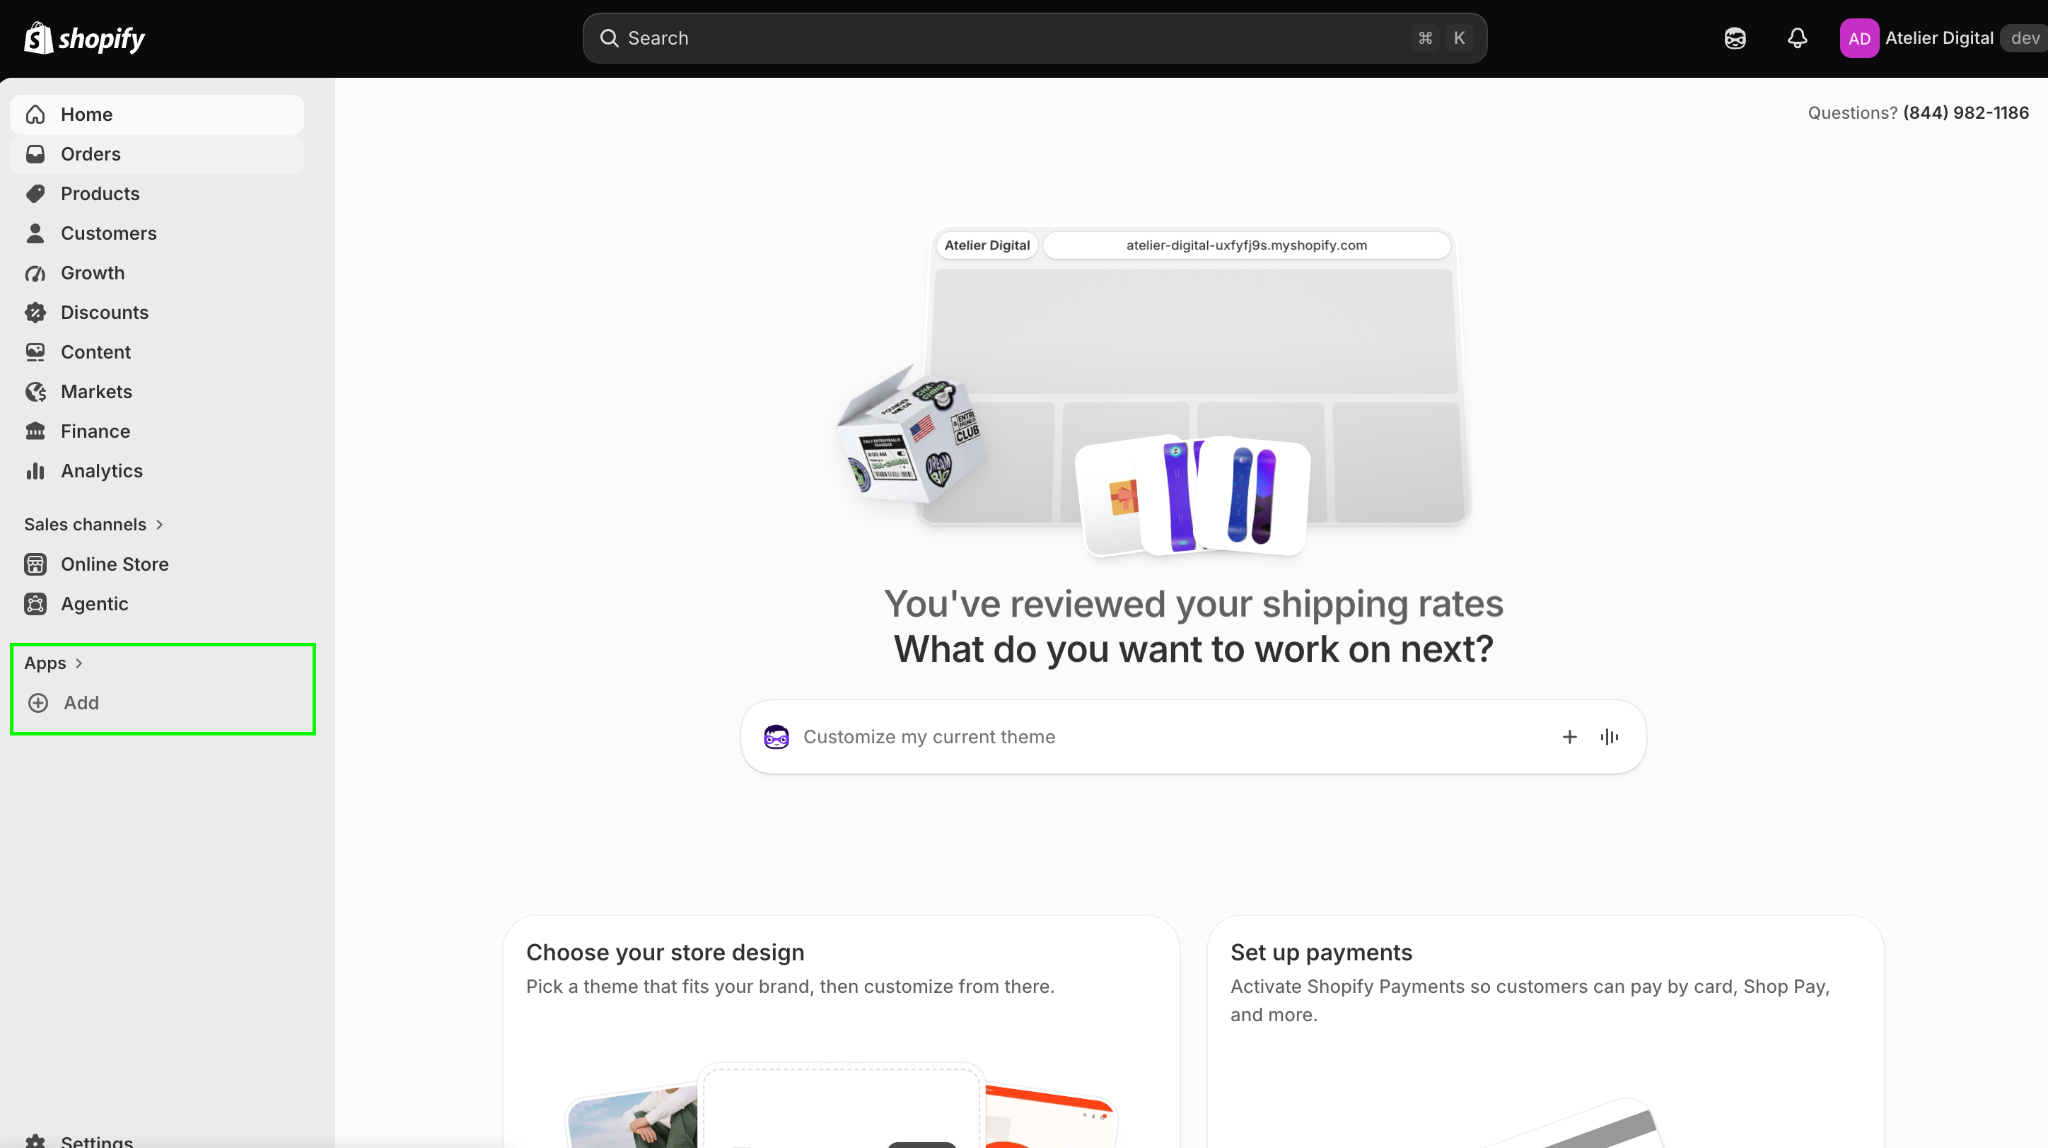
In the left sidebar, select Apps.
-
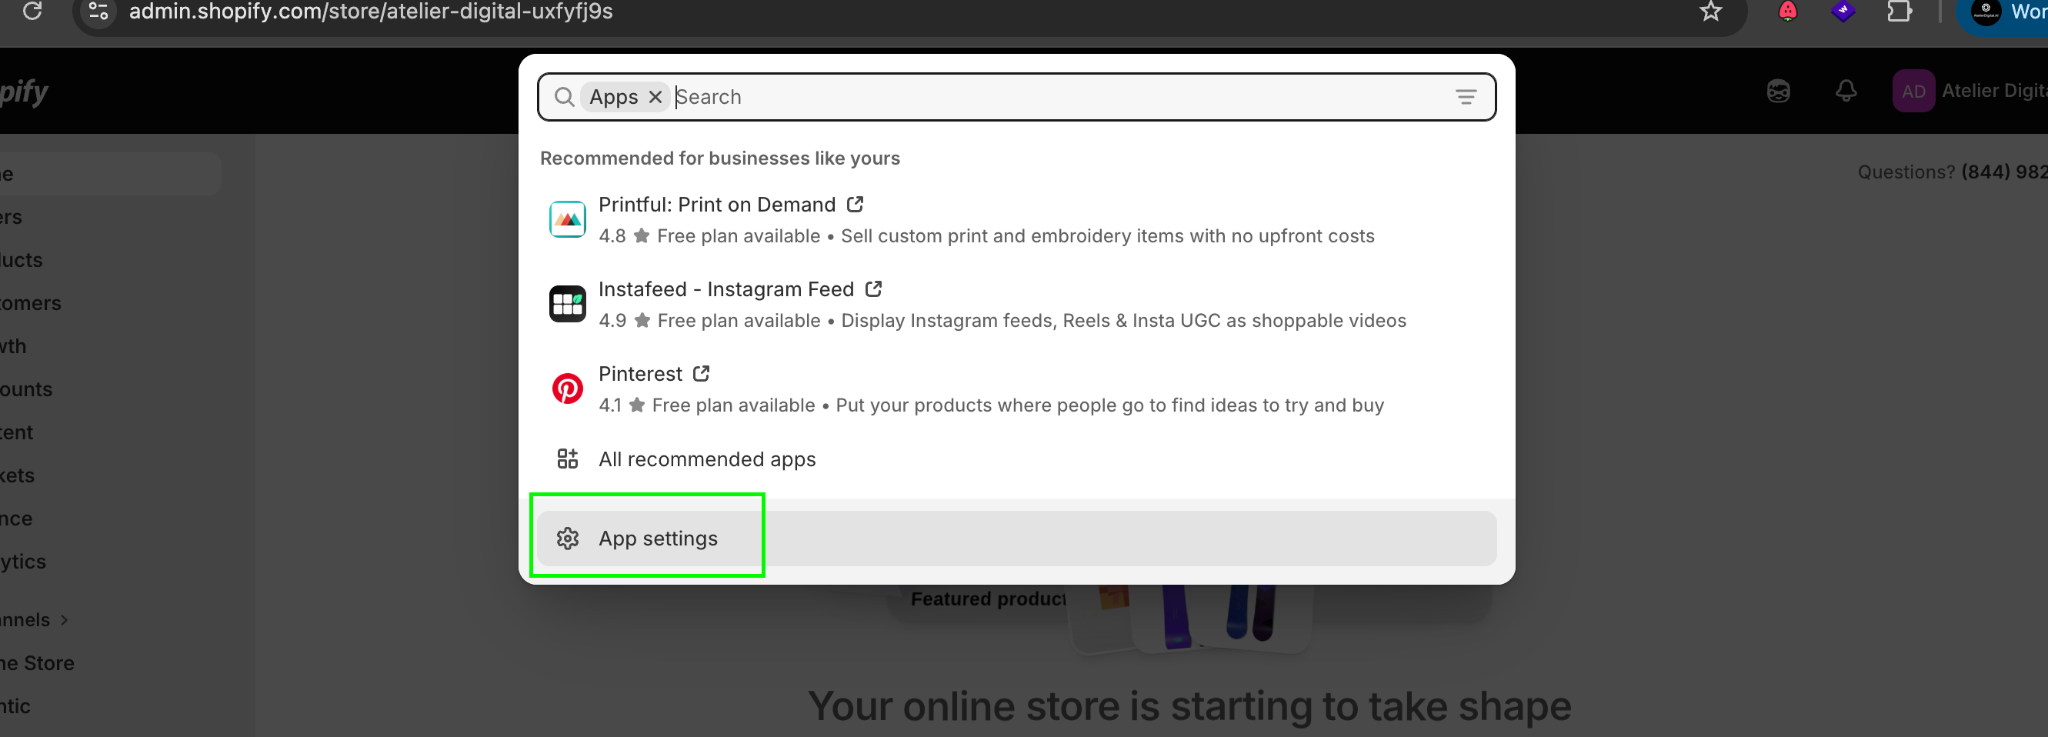
Click App settings in the panel that opens.
-
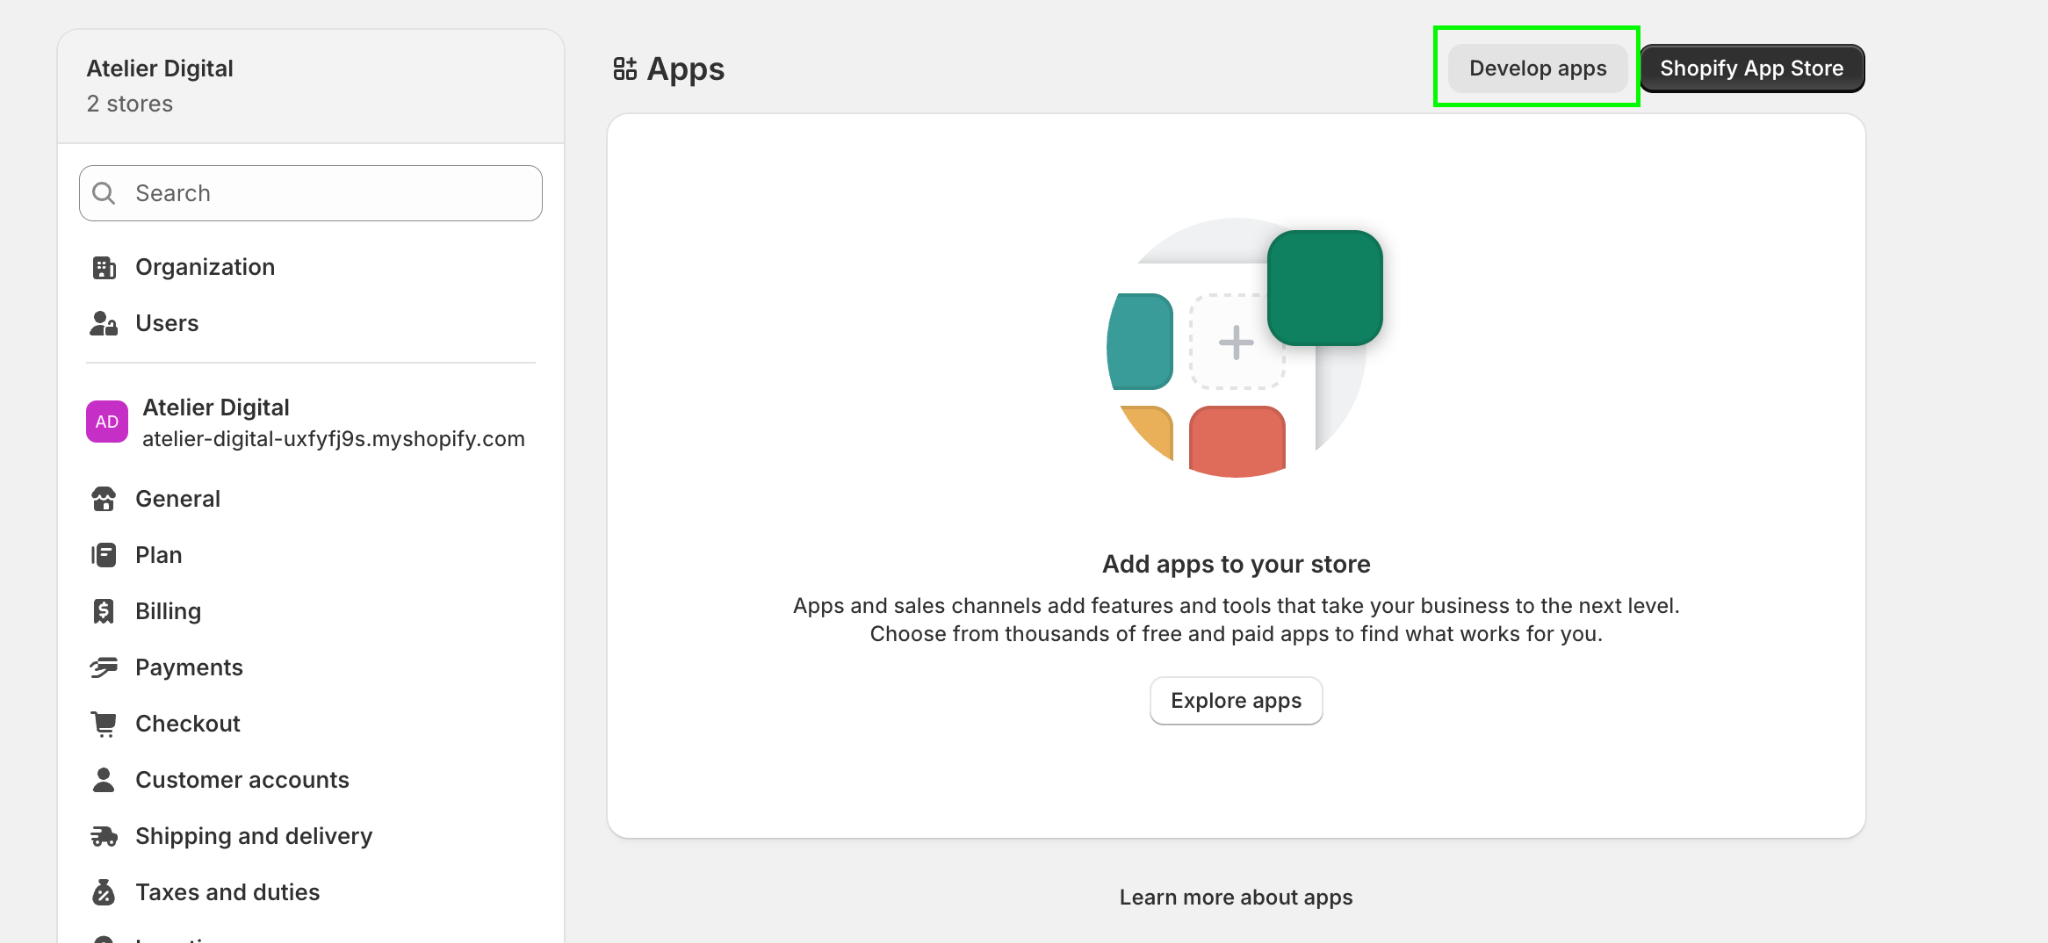
Click Develop apps.
-
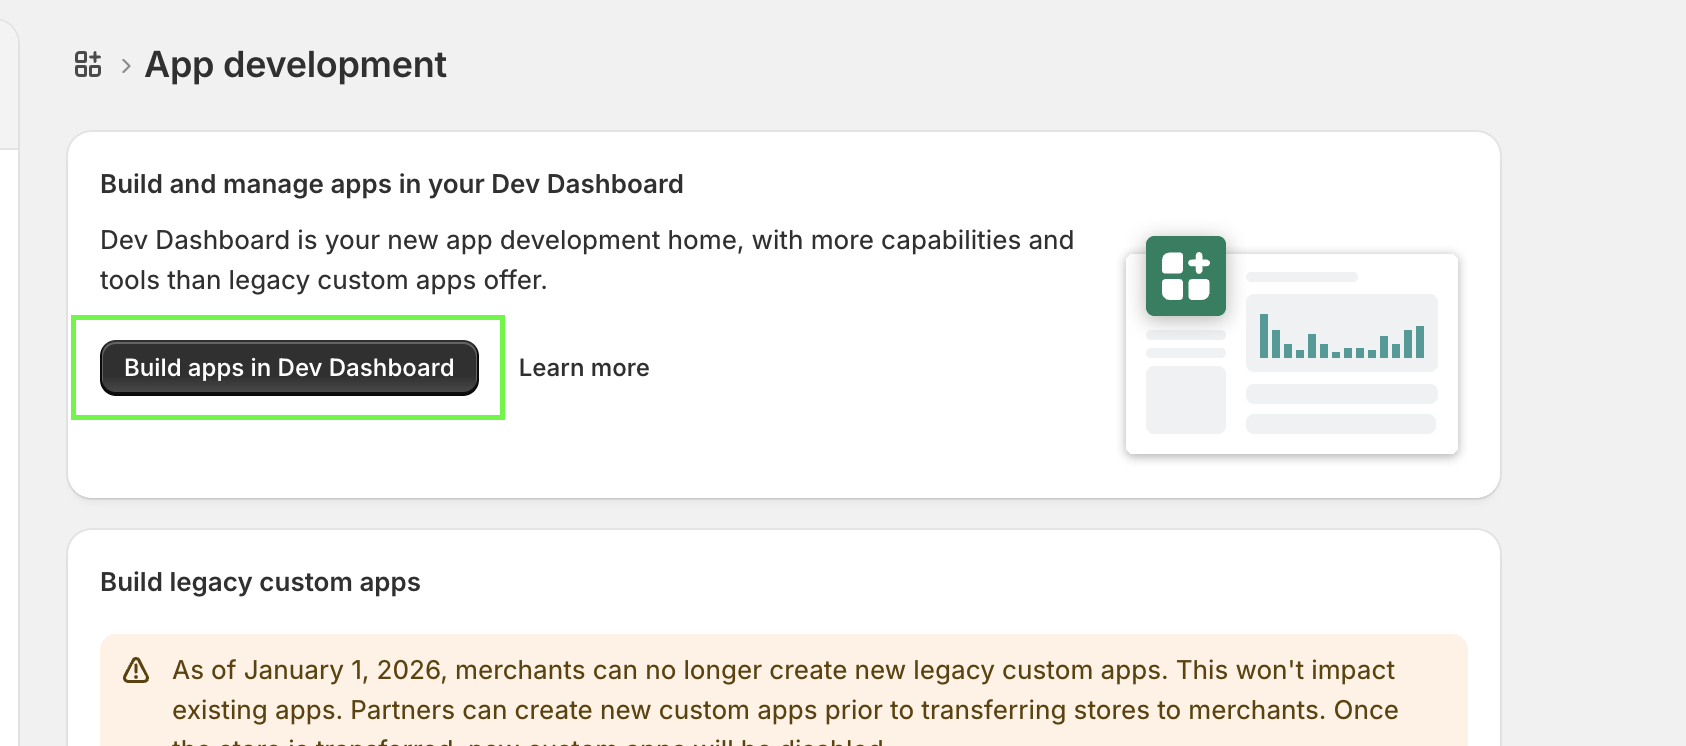
Click Build apps in Dev Dashboard.
-
Click Create app.
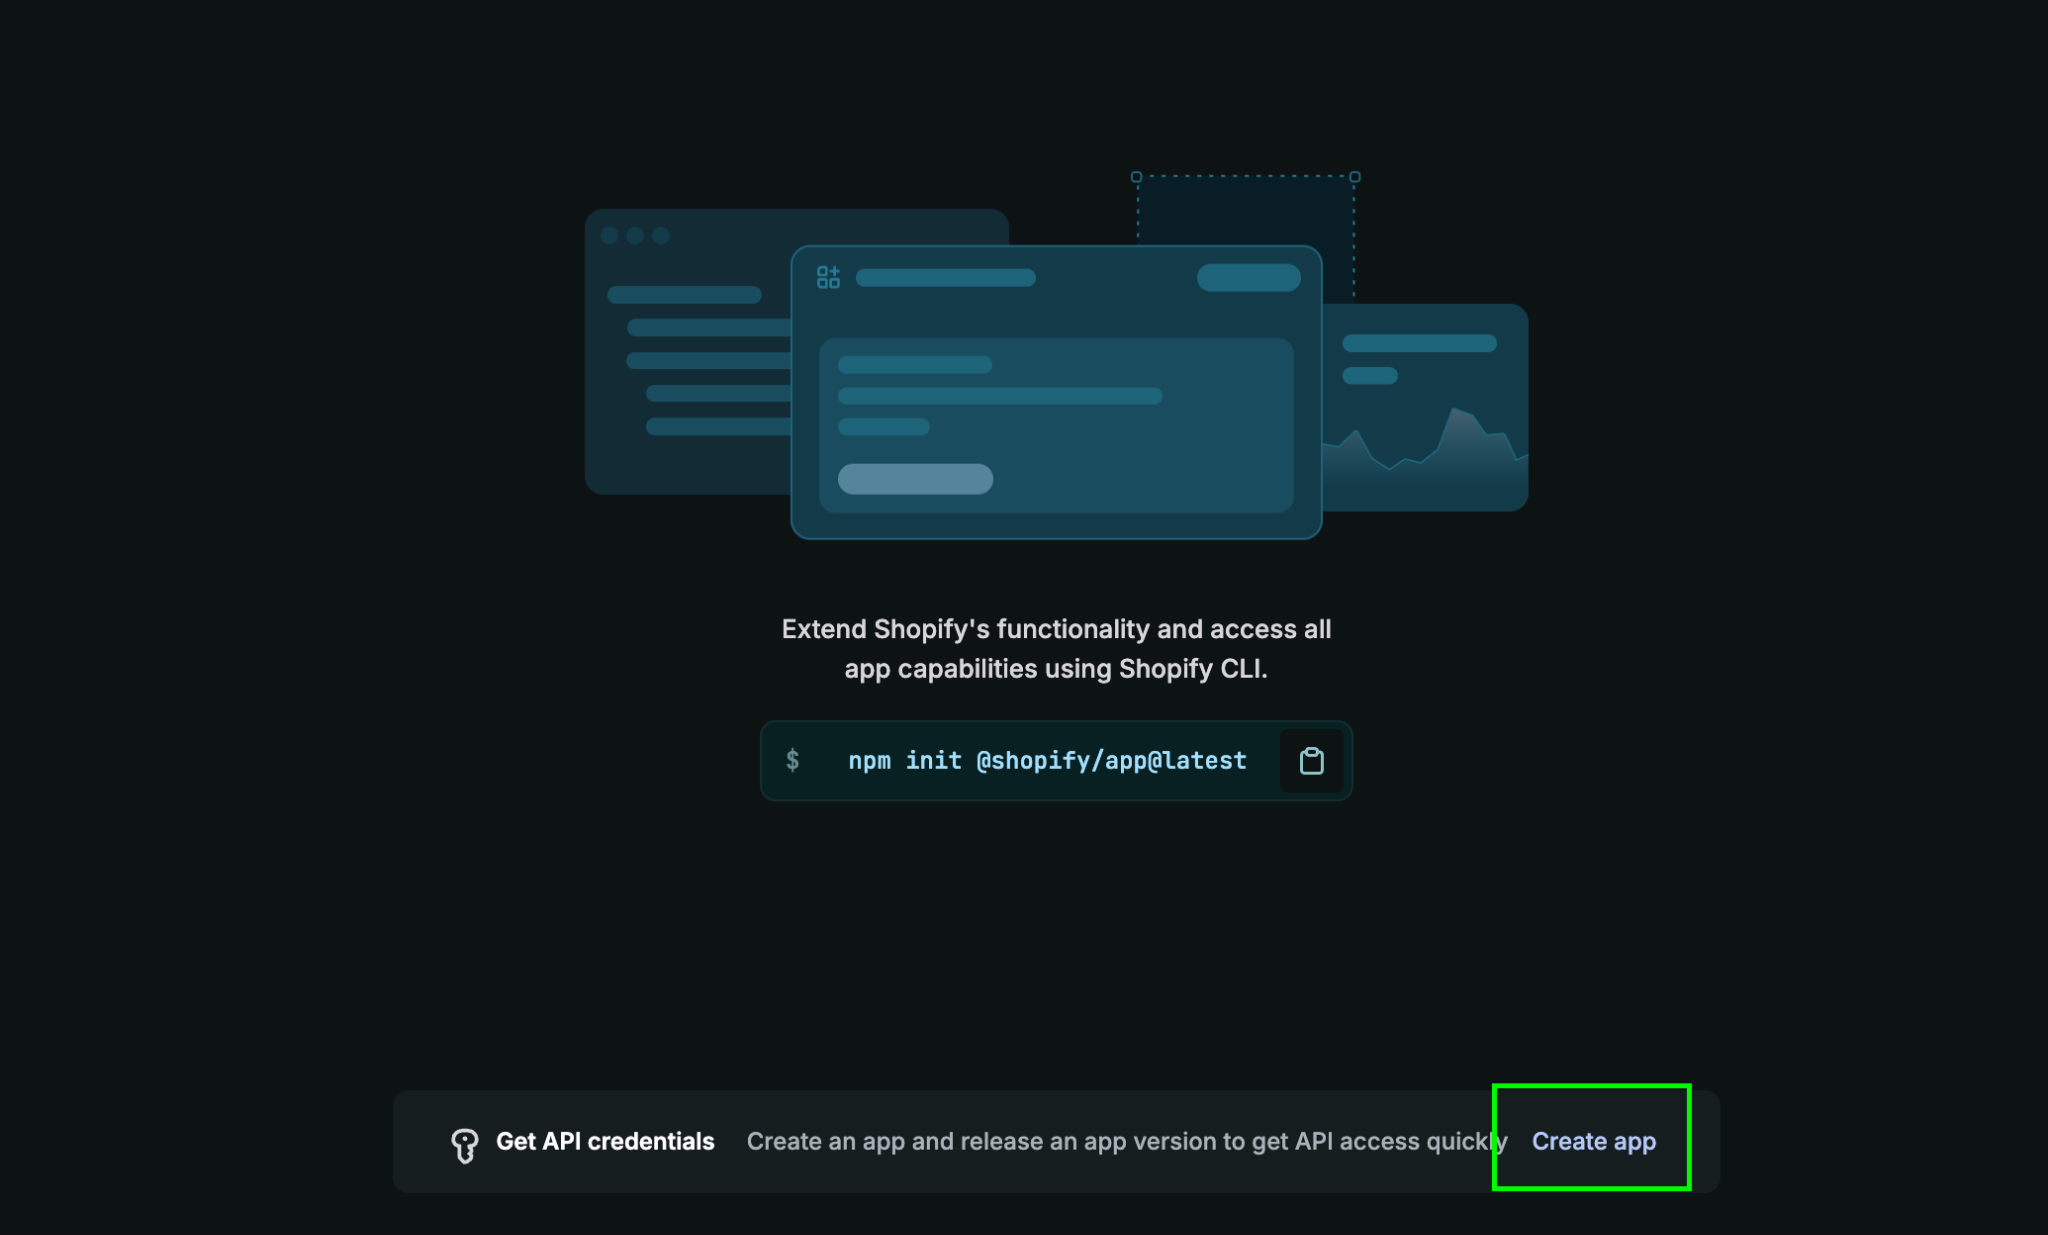
Phase 2: Create and name the app
Section titled “Phase 2: Create and name the app”-
Under Start from Dev Dashboard, name the app
AD.AI - Virtual Fitting Room, then click Create app.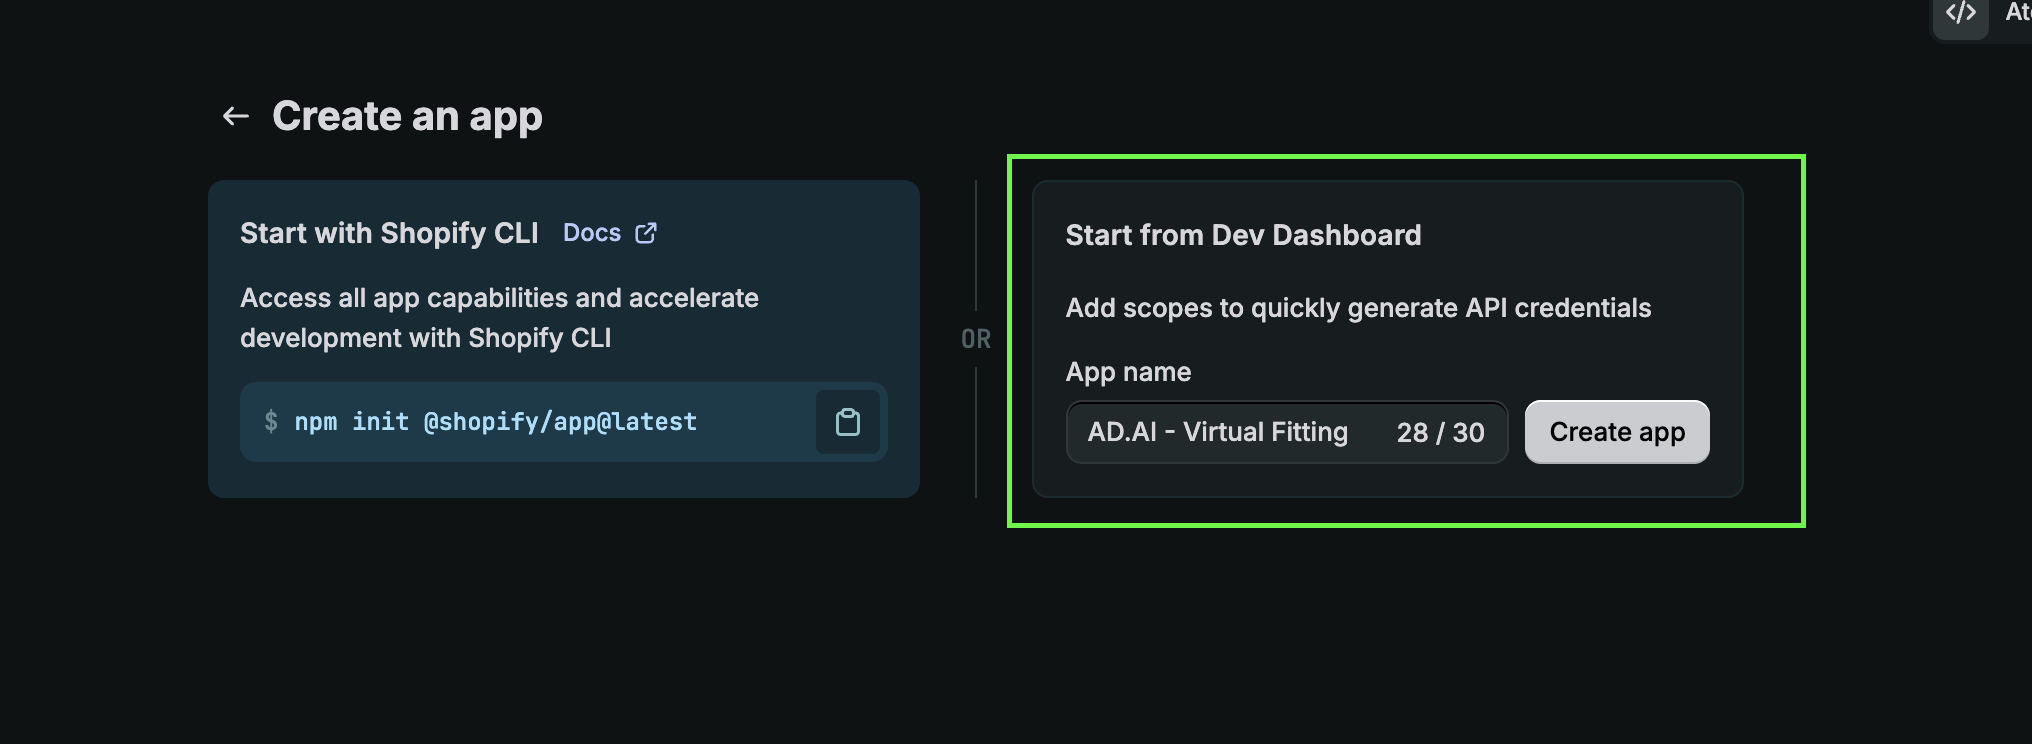
Phase 3: Configure the app
Section titled “Phase 3: Configure the app”Three settings, all on the same App settings page: where the app lives, what it is allowed to read, and where Shopify sends you after you approve access.
-
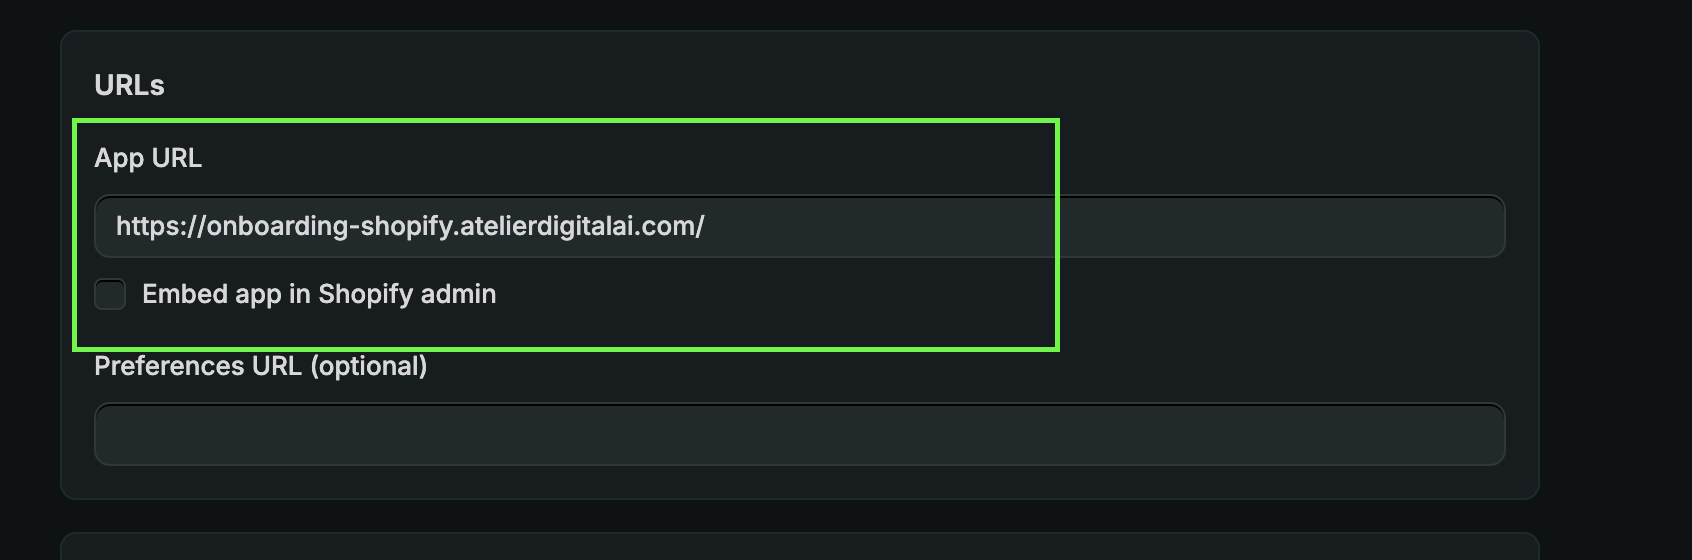
Under URLs, set App URL to:
https://onboarding-shopify.atelierdigitalai.com/Leave Embed app in Shopify admin unchecked.
-
Under API access → Scopes, enter exactly:
read_orders,read_products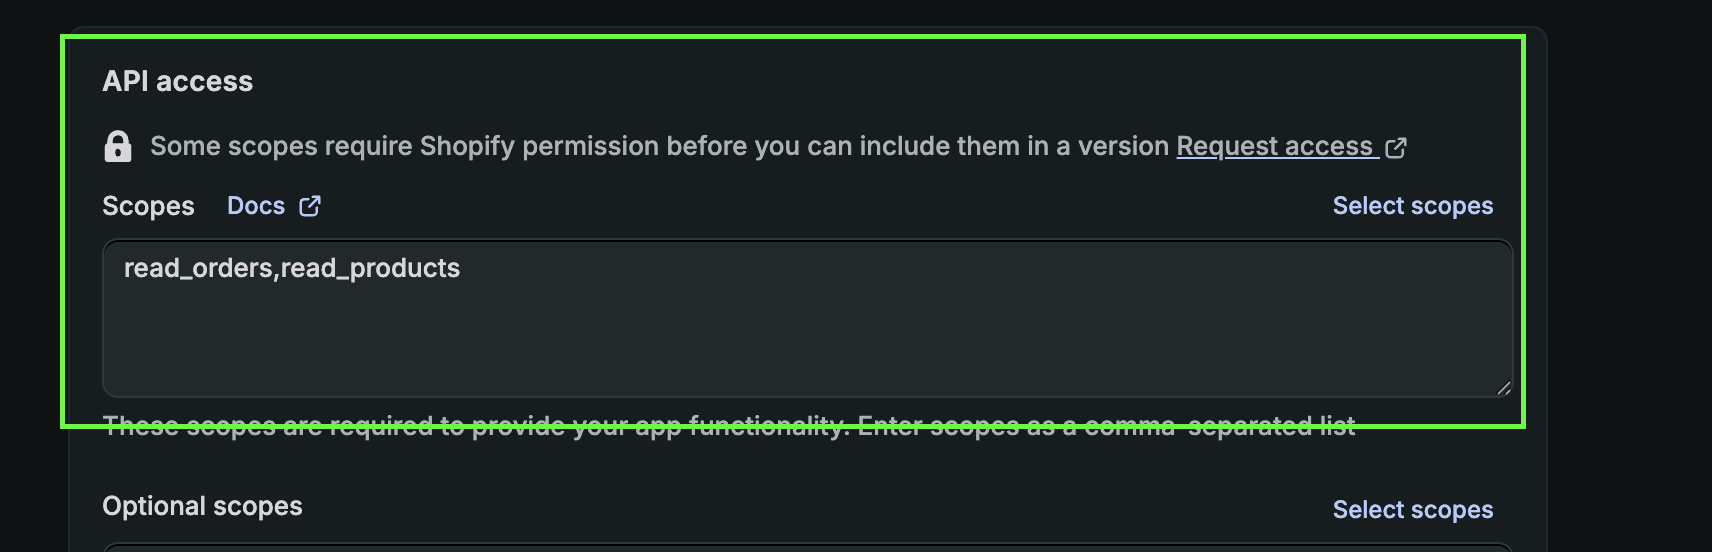
-
Under Allowed redirection URL(s), enter:
https://onboarding-shopify.atelierdigitalai.com/auth/callback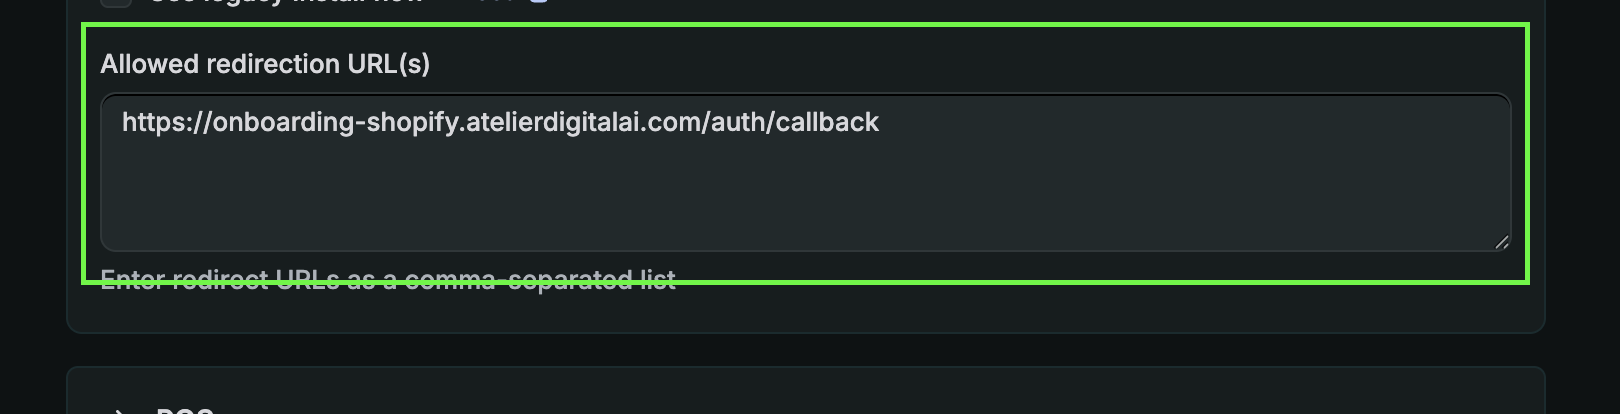
Phase 4: Release your configuration
Section titled “Phase 4: Release your configuration”Settings you enter are not live until you release a version. It takes two clicks.
-
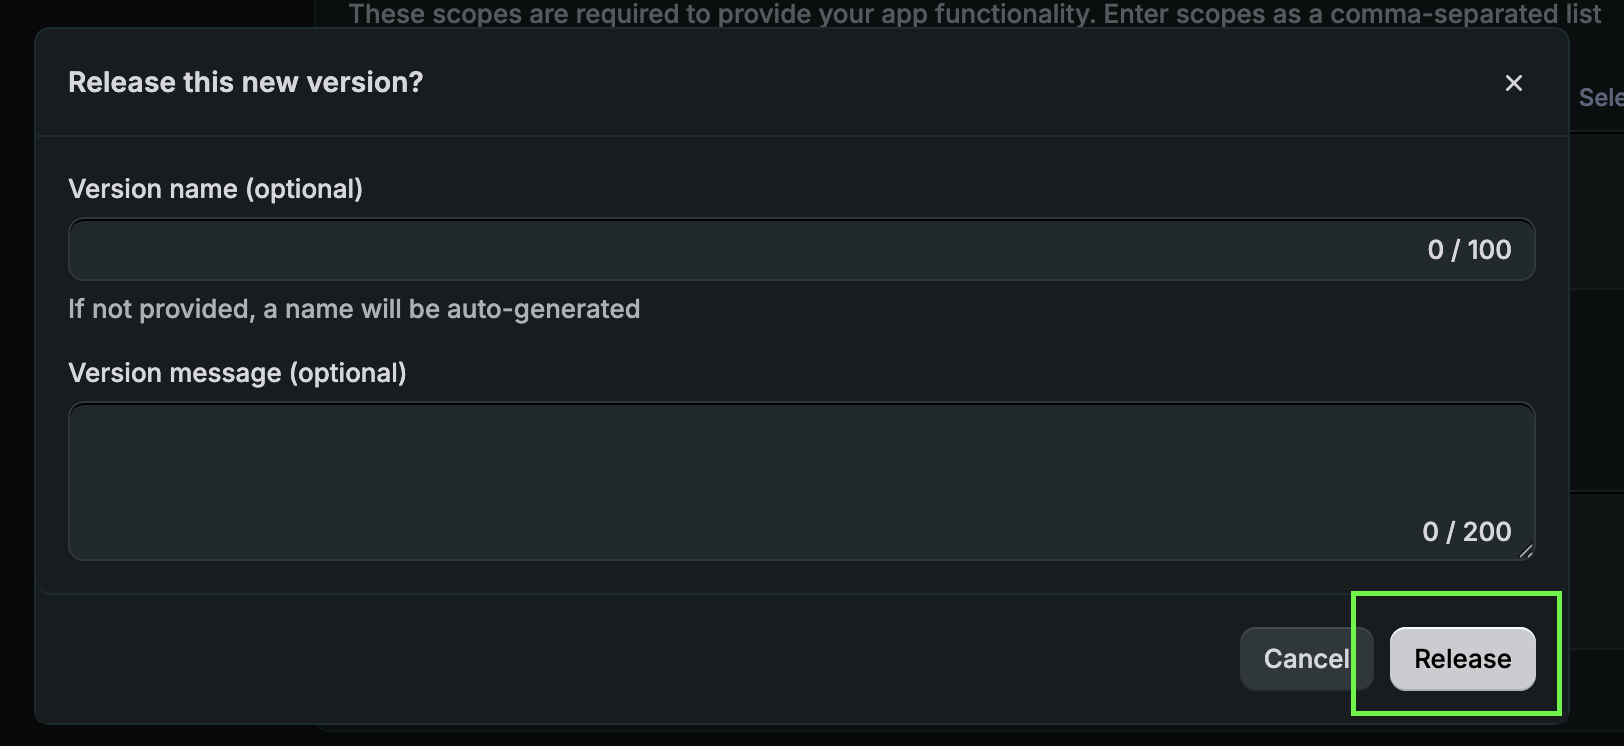
Scroll up and click Release.

-
Confirm by clicking Release again in the dialog. The version name is optional and can stay blank.
Phase 5: Get your credentials, then install
Section titled “Phase 5: Get your credentials, then install”Two values identify your app to us. You will copy them once and use them in the last phase, so keep this tab open.
-
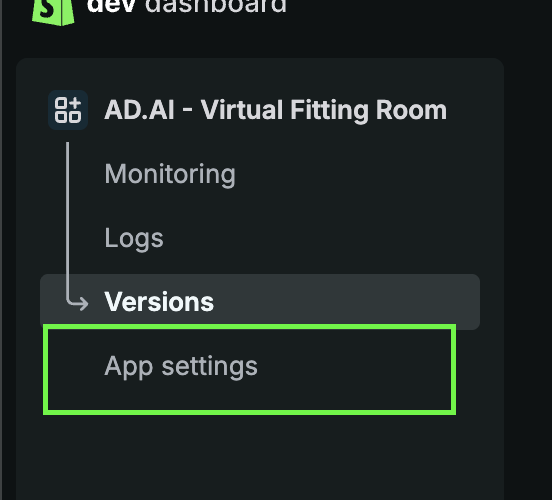
In the left sidebar, click App settings.
-
Under Credentials, copy the Client ID and the Secret (click the eye icon to reveal it).
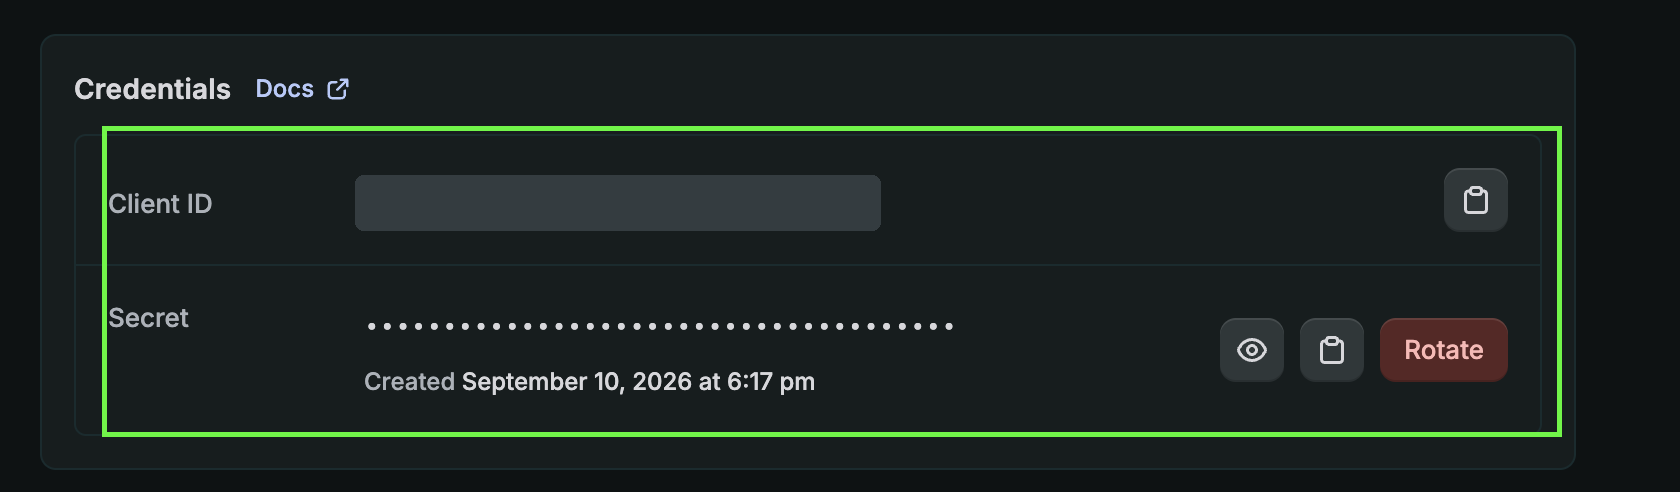
Copy both values somewhere safe now. You will paste them in Phase 6, and having them ready avoids switching tabs back and forth.
-
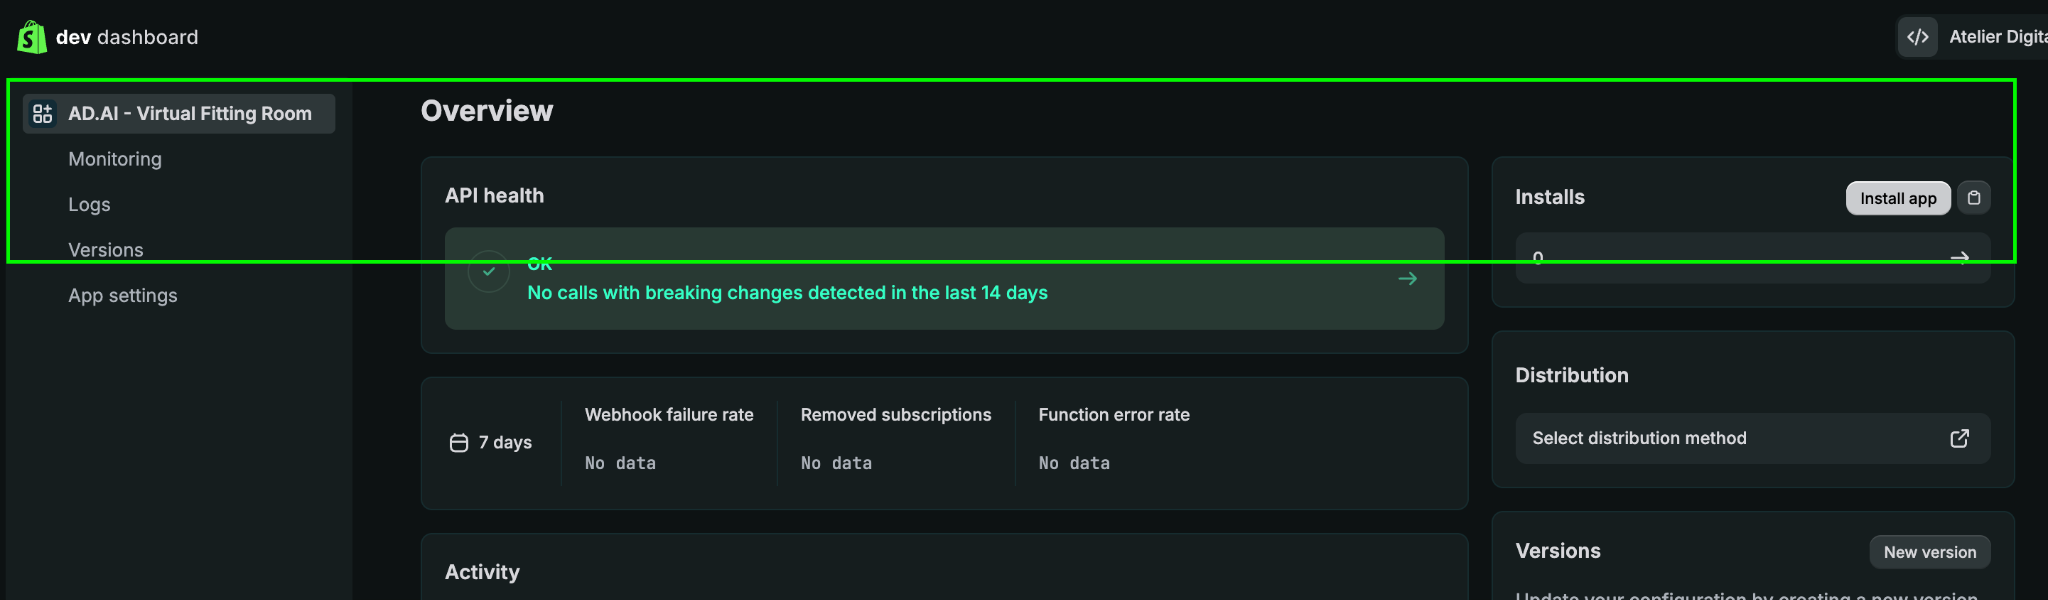
Click the app’s name at the top of the sidebar, then click Install app.
-
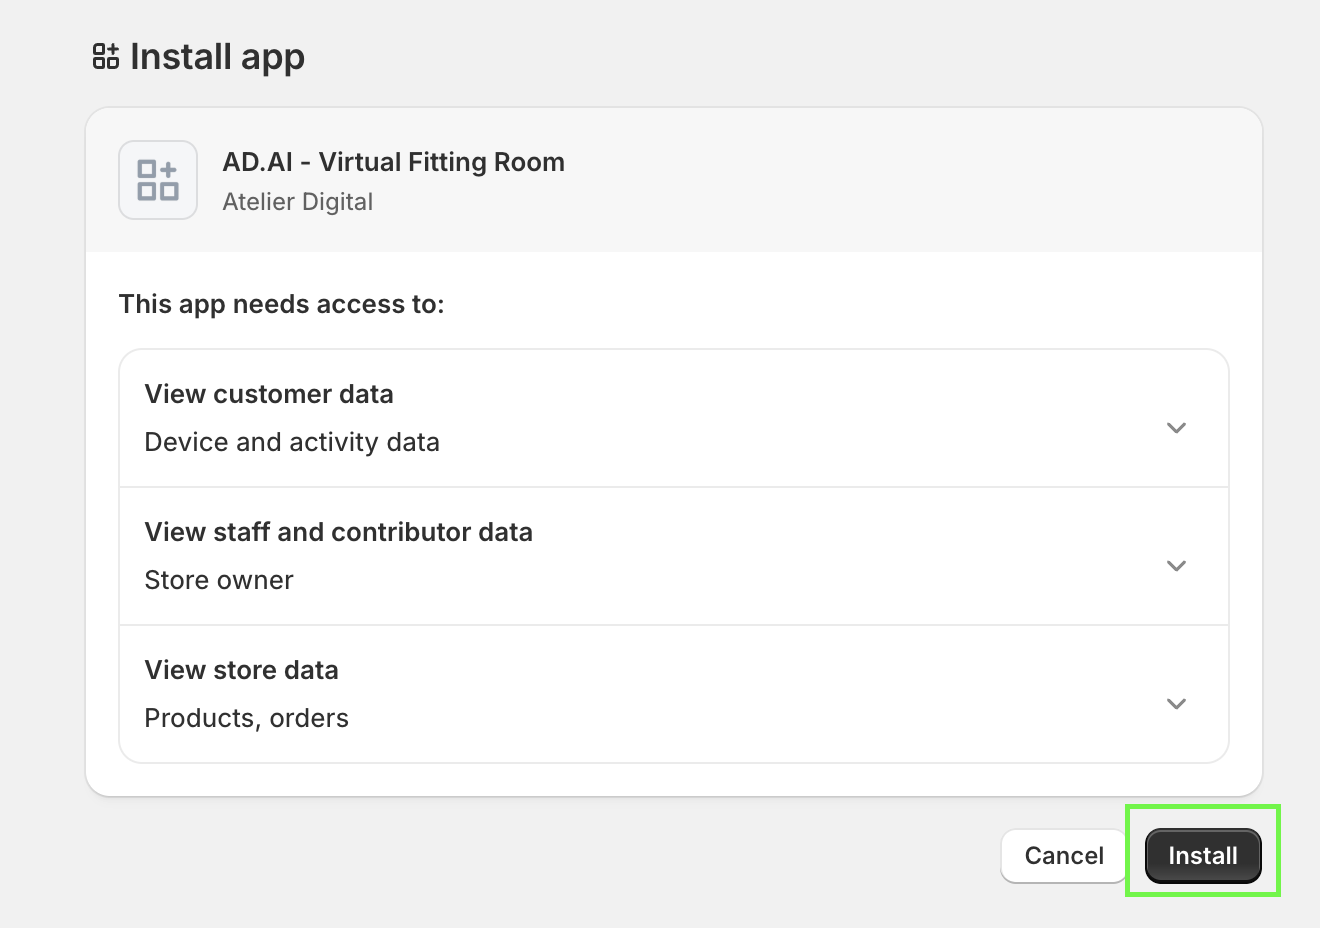
Review the permissions and click Install to confirm.
Phase 6: Authorize with Atelier Digital
Section titled “Phase 6: Authorize with Atelier Digital”-
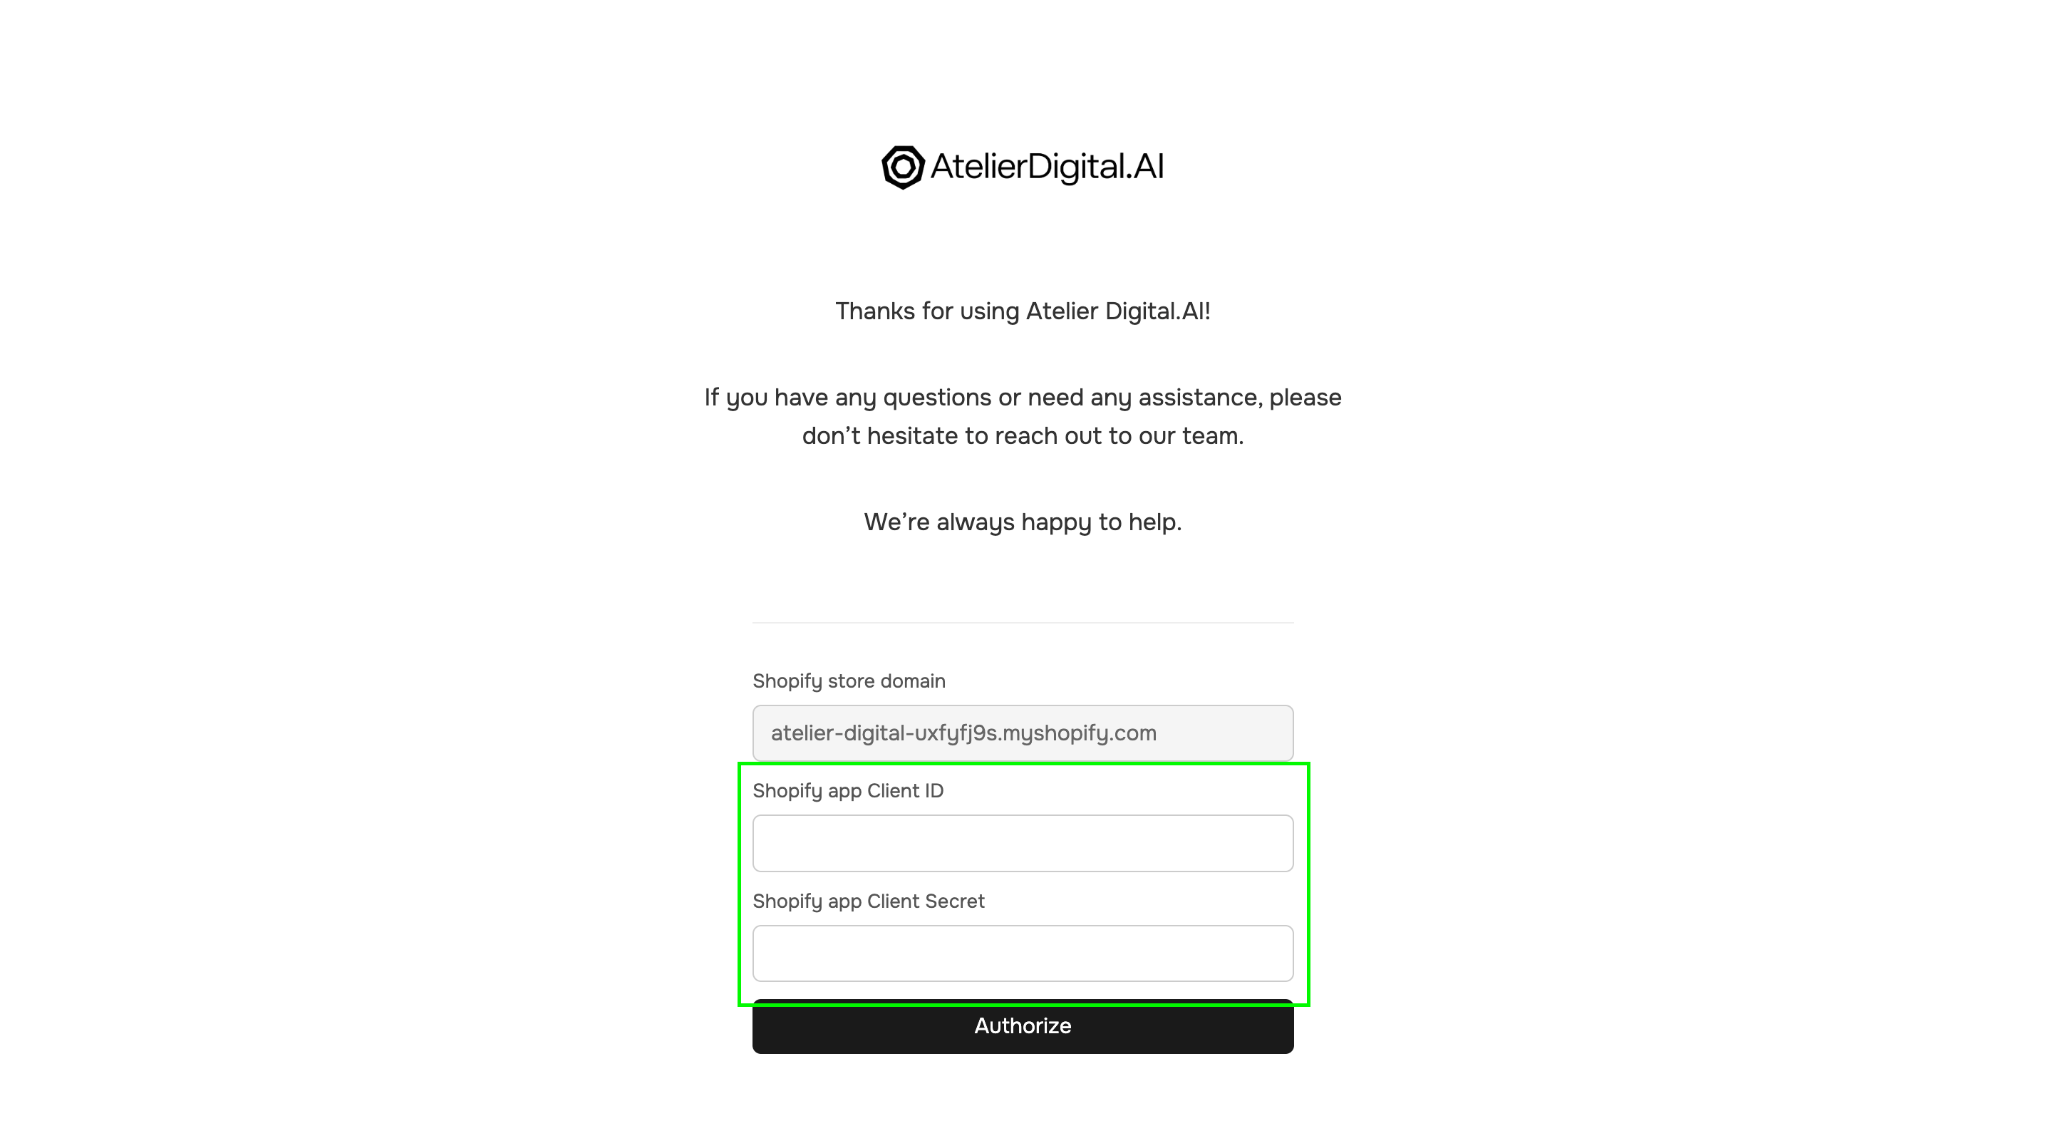
Open the connection page, onboarding-shopify.atelierdigitalai.com. Your store domain is filled in. Paste the Client ID and Client Secret from Phase 5, then click Authorize.
-
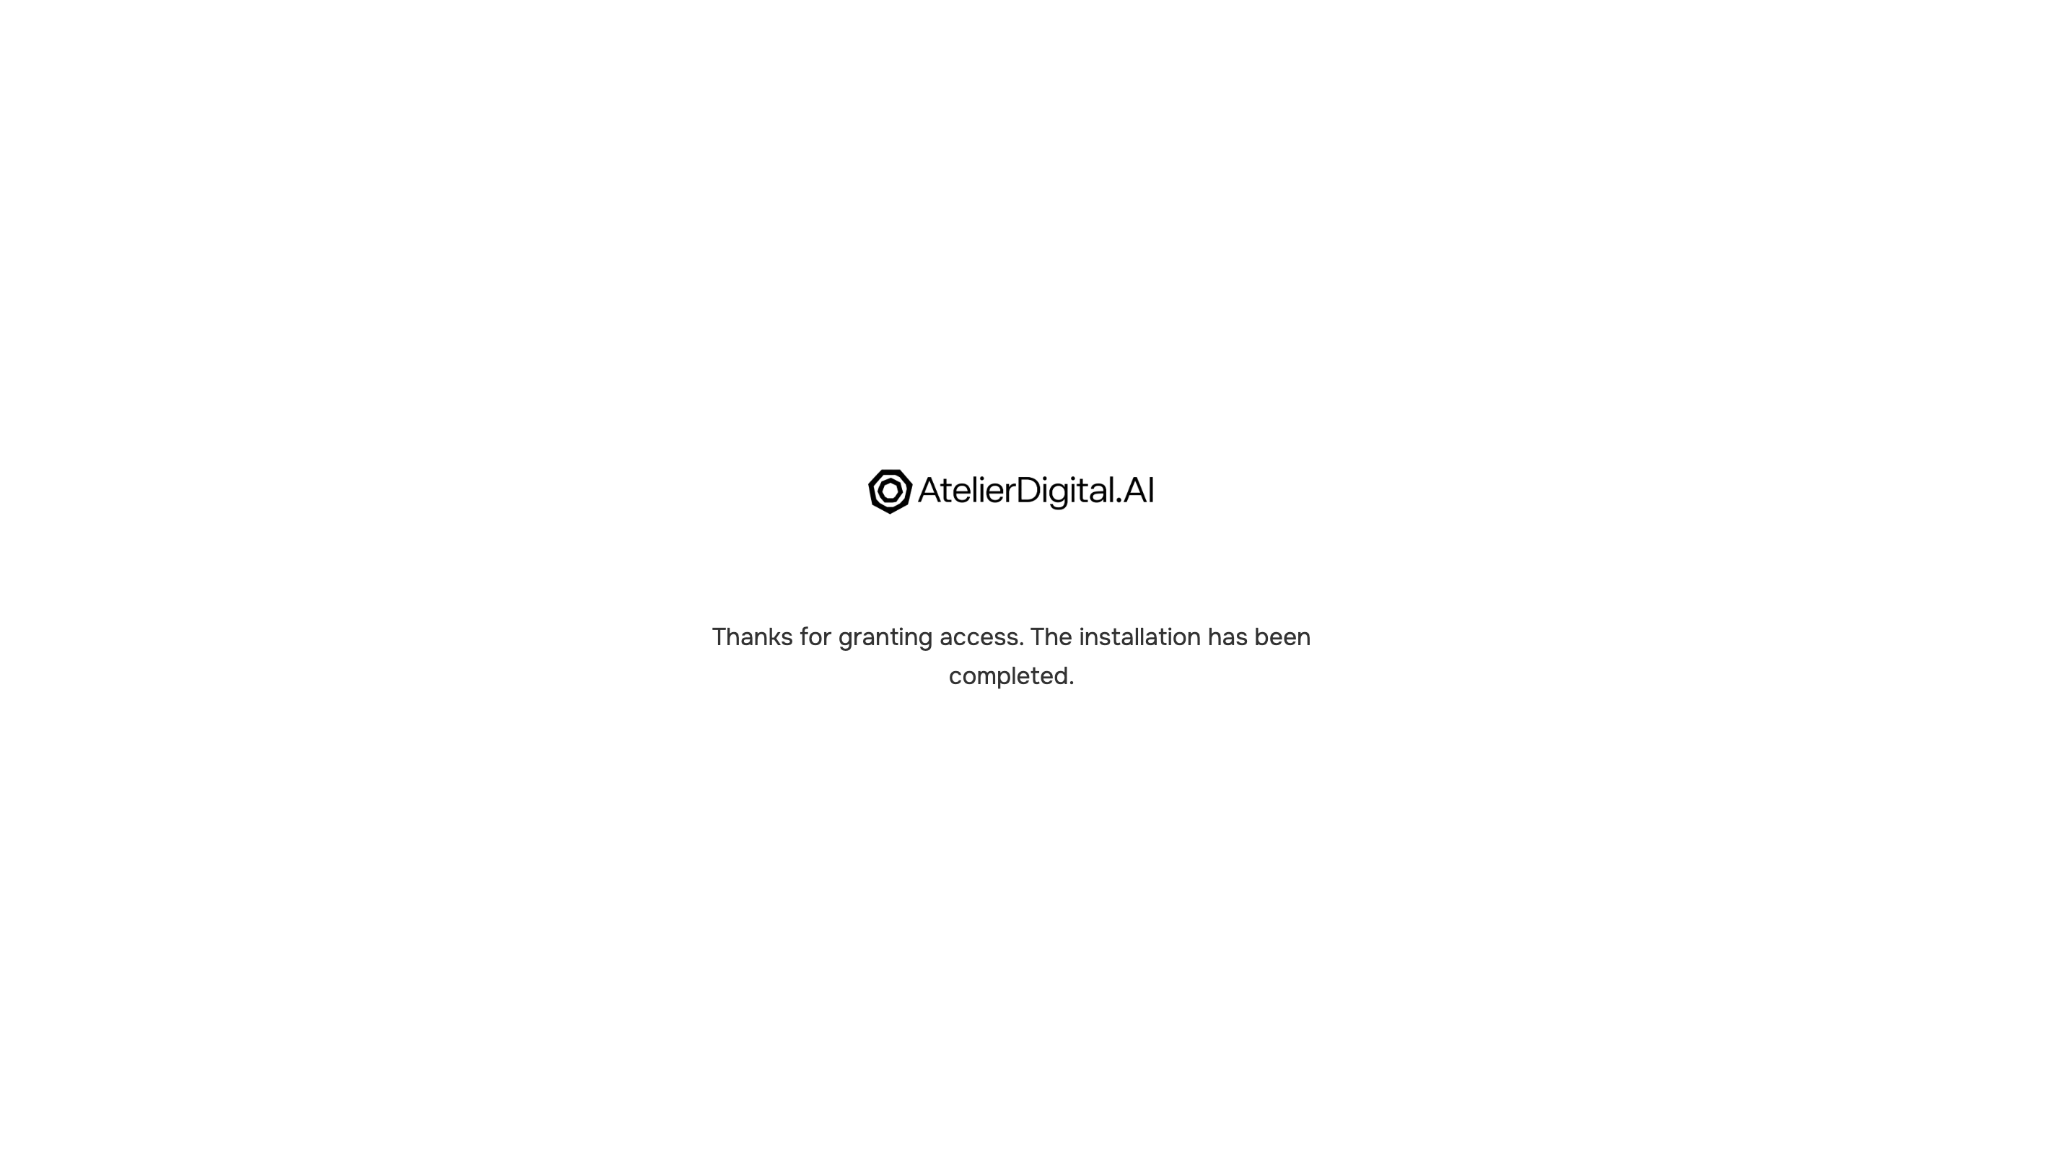
You are sent to Shopify to approve the connection, then land on a confirmation screen. That means it worked.
You’re connected
Section titled “You’re connected”Let the Atelier Digital team know the installation is complete. We will finish the setup on our end and confirm once your catalog and orders are syncing.
If a screen looks different from what is shown here, or something fails along the way, stop and contact us rather than guessing. See also Troubleshooting.